Payment.ai
Taking Payments with Payments.ai
Here is Payment.ai’s documentation on how to set up your Payment.ai account to accept payments. If you have any questions or need support of Payments with Payments.ai process please contact Payments.ai support at support@payments.ai or visit their help center here.
For a video walk-through, please click here: Getting Started with Payments AI
For Payment with Payments.ai,Please follow the steps as outlined below:
Before you get started, you’ll want to make sure you have copies of your business documents readily available to you. If you’re signing up as a Sole Proprietor, you’ll want your personal information ready.
Each workspace needs its own Payments AI account. It is not possible to use the same Payments AI account in multiple workspaces.
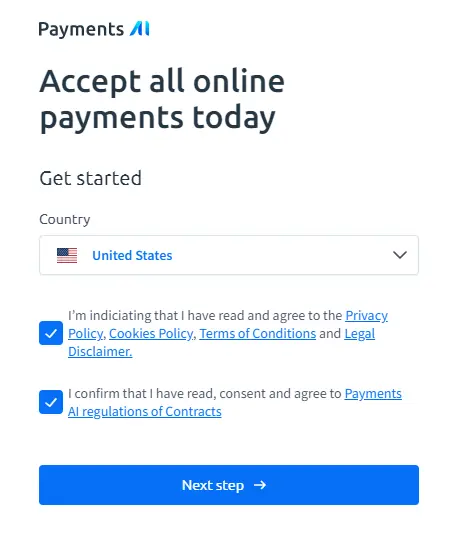
Step 1: Read and accept Payment AI’s policies and contracts.
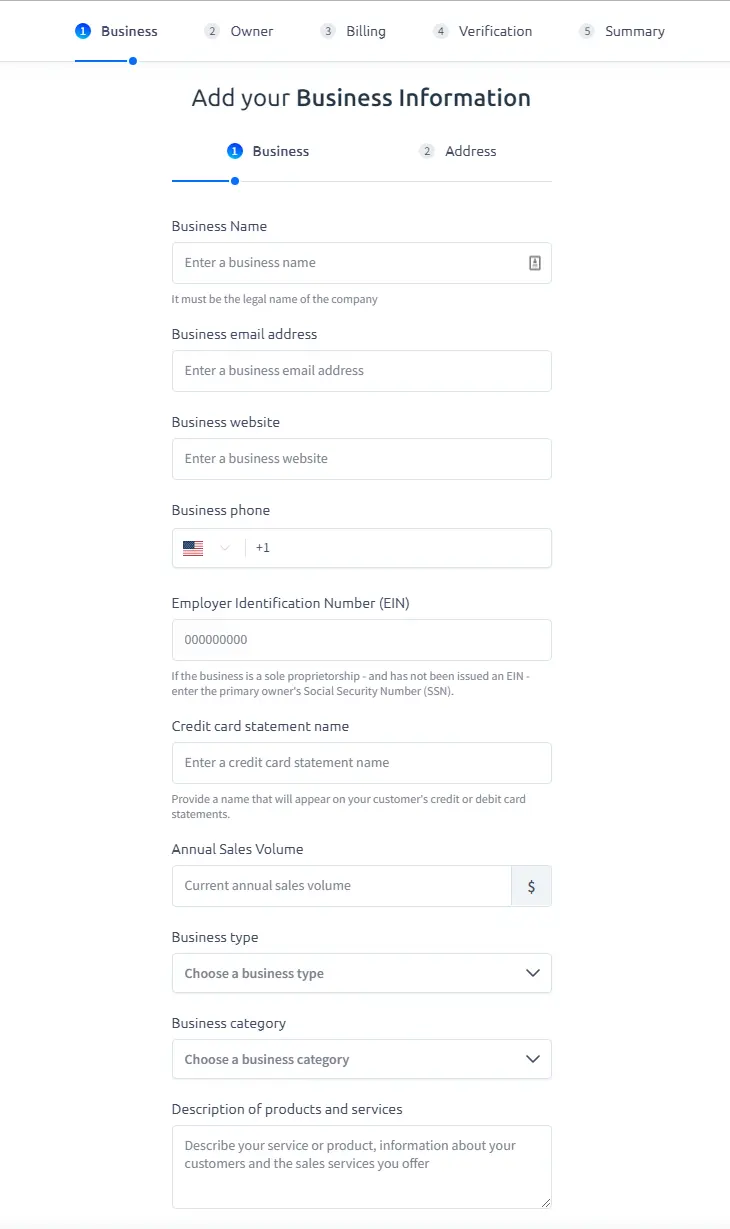
Step 2: Adding your Business Information.
You will b required to fill out the following questions:
-
Business Name
-
Business Email
-
Business Website (IMPORTANT: Please provide the website that this gateway will be used to sell your products/services on. To ensure it’s in compliance with card brand regulations, please click here.)
-
Business Phone Number
-
Employer EIN or Personal Social Security Number. You can apply for an EIN from the IRS as a Sole Proprietor here.
-
Credit Card Statement Name
-
Your current annual sales volume
-
Your Business Type (Select Sole Proprietor if you run a Sole Proprietorship)
-
Business Category
-
A Description of your products and services
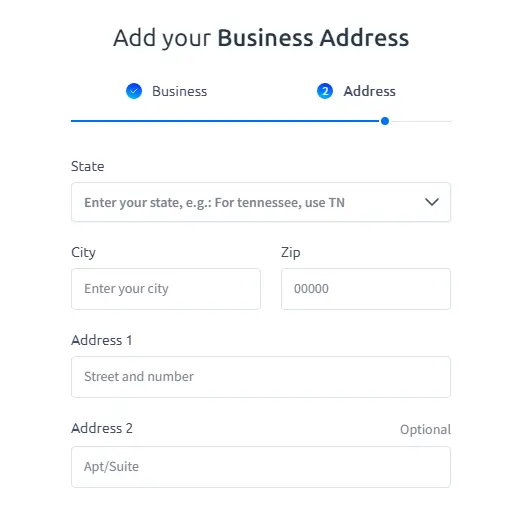
Step 3: Add your Business Address.
If you do not yet have a business address you can use your personal address instead.
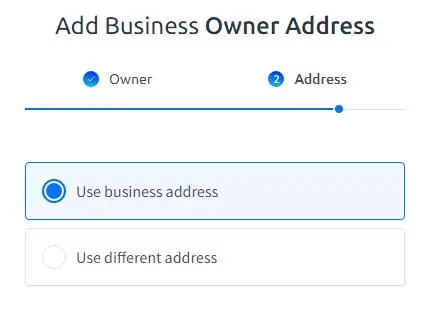
Step 4: Add Your Business Owner Information
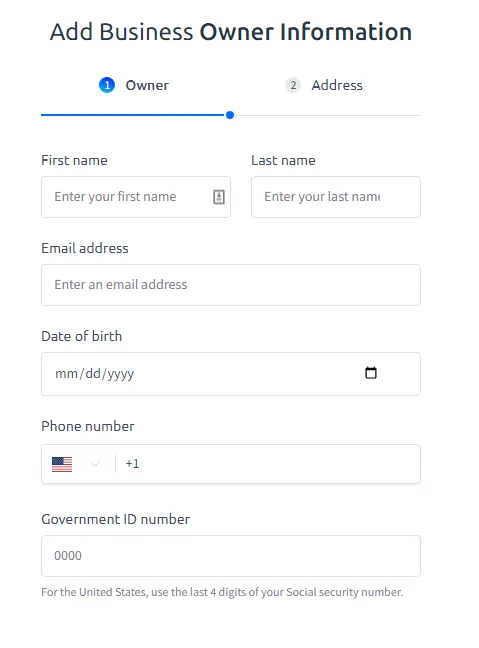
Step 5: Add Your Business Owner Address.
You may use the business address if they are the same or add your own personal address.
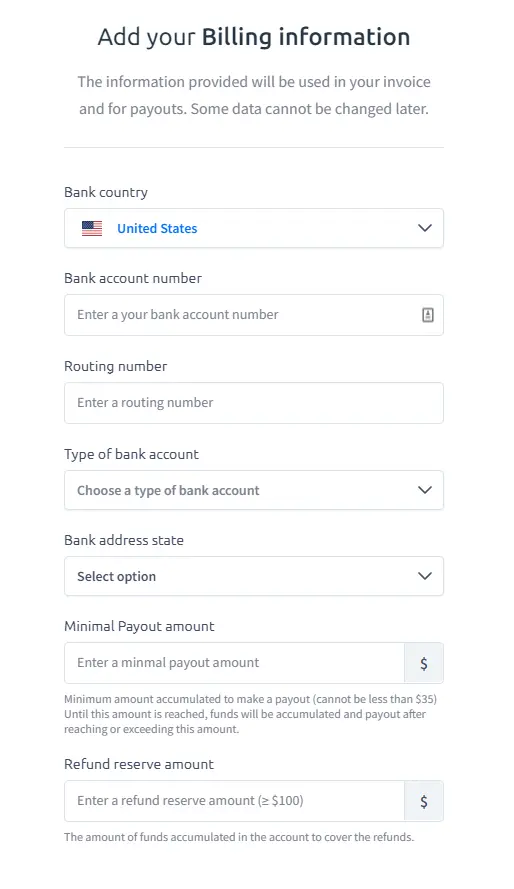
Step 6: Add Your Billing Information.
This information will be used to designate which account your funds will be deposited into.
Be sure to double-check this information and enter your Minimum Payout Amount which must be no lower than $35.
You must also enter your Refund Reserve Amount which must be no lower than $100. This is the amount that is kept in your Payments AI account at all times to cover refunds.
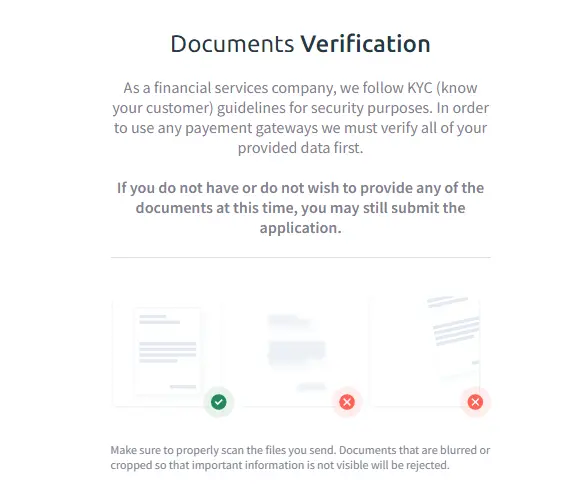
Step 7: Documents Verification (OPTIONAL)
Please upload the documents requested. This is optional at this time but must be completed within 14 days of signing up. Your document verification will be required for full use of your Payments AI account, including payouts. If you want to skip this step now, you can refer to this article on document verification after your initial sign-up.
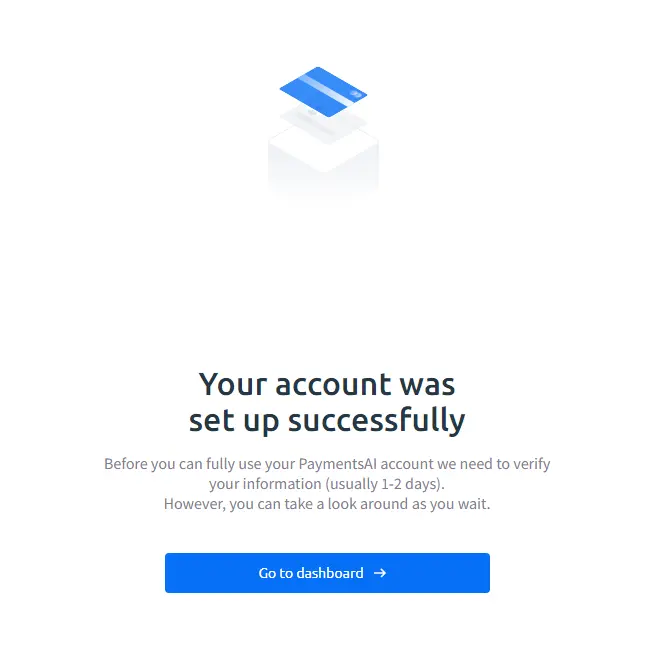
Step 8: Verifying Your Information.
Once your initial documents pass preliminary verification checks, your account will be successfully connected. In most cases, this happens quickly. At this stage, you will be able to begin processing up to $5000.
Once processing begins, your application and documents will go through a final review as well as your website to ensure compliance with card brand regulations. If any additional documentation is required, you will receive an email.
IMPORTANT: If you have begun processing but did not complete requests for additional documents or your website is not in compliance with card brand regulations, then decide to cancel your ClickFunnels subscription, you will NOT be able to receive any pending payouts.
All documentation and website compliance must be completed in order for payouts to be enabled.
Success! Your account was verified and set up!
Important Note: Each workspace needs its own Payments AI account. It is not possible to use the same Payments AI account in multiple workspaces.To know more click on PayPal to Payment.ai and Stripe to Payments.ai.
Source : support.myclickfunnels.com